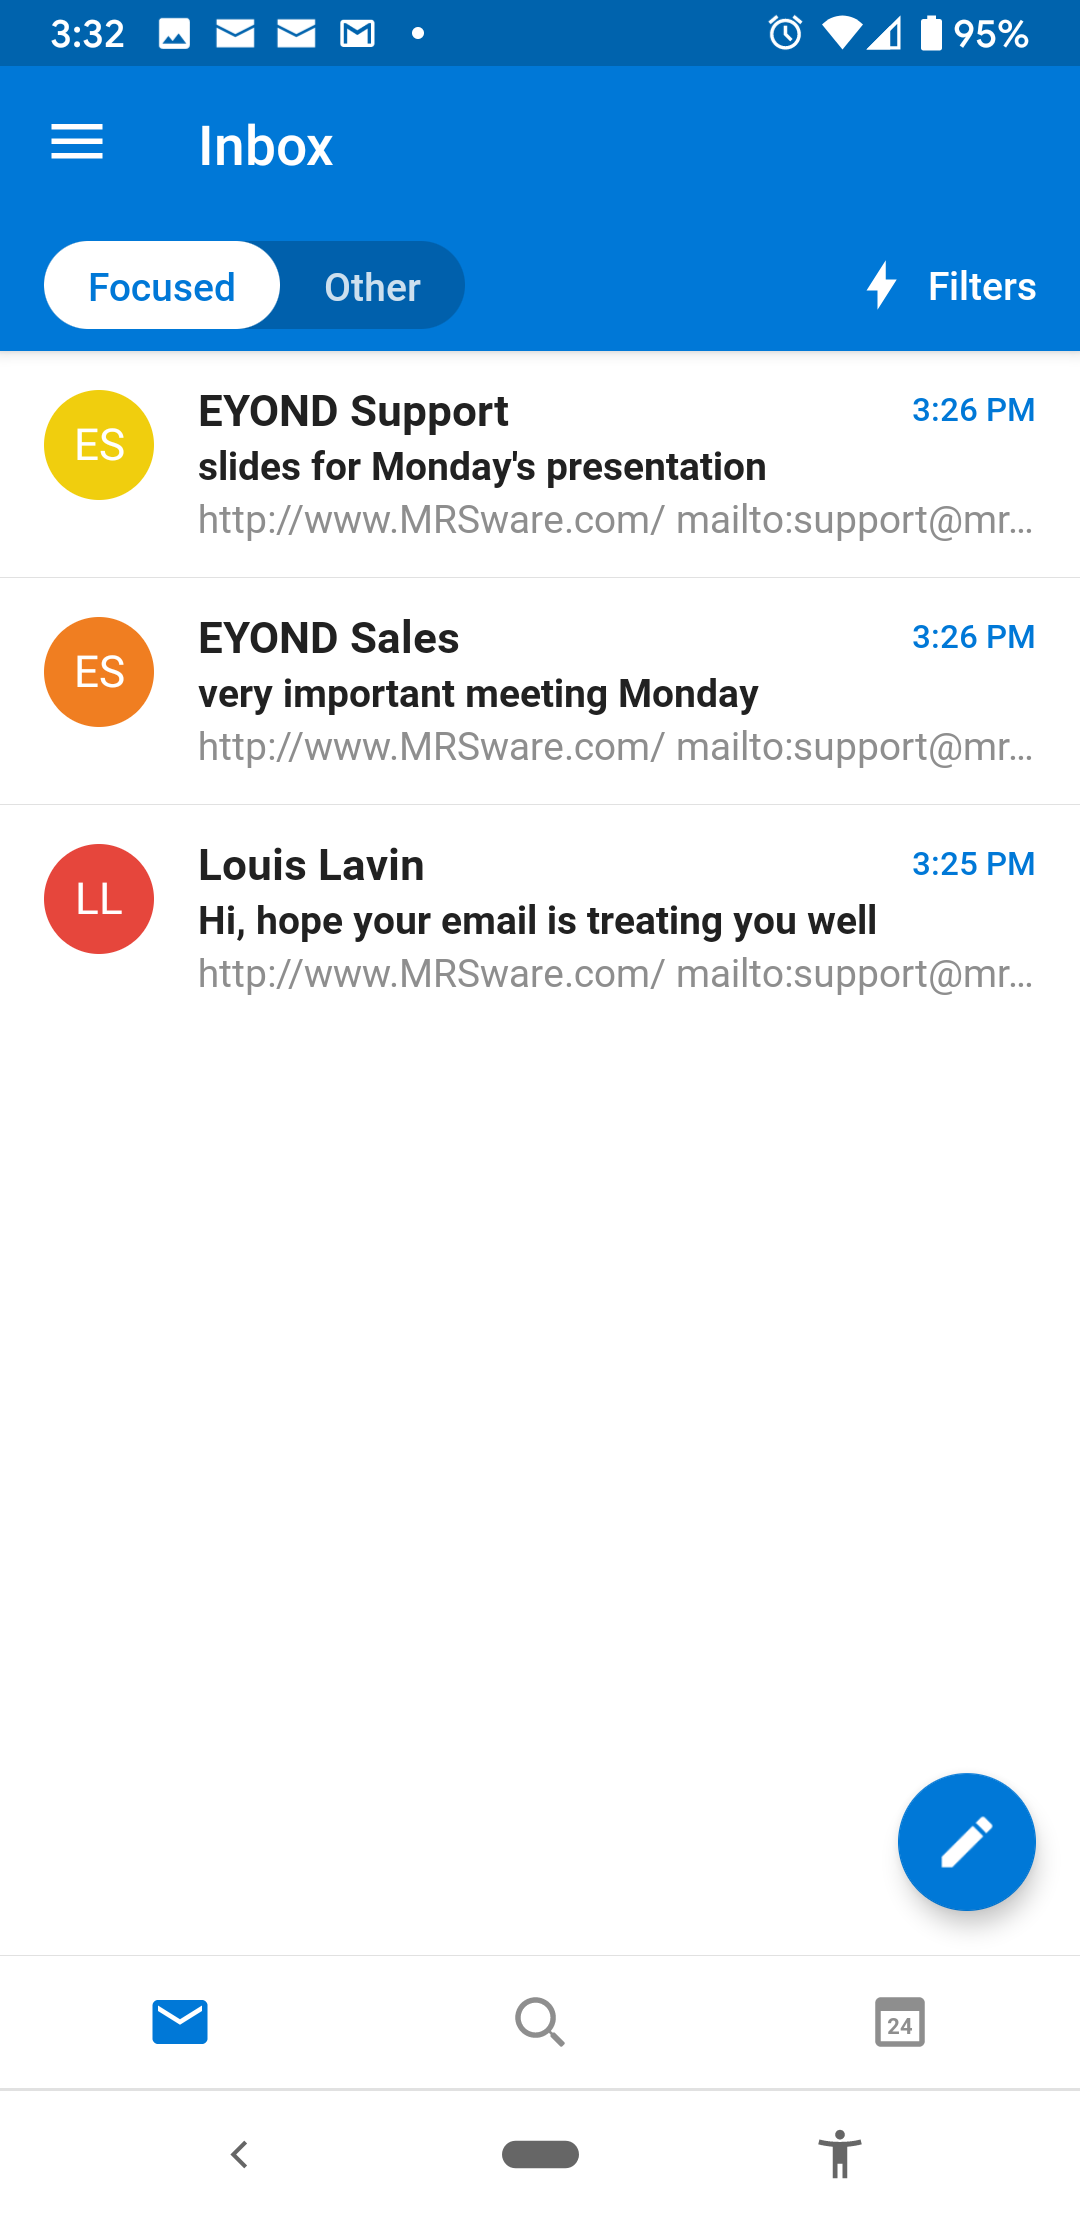
Among the great number of email app for mobile devices and desktop that are compatible with MRSware, one of the most name-recognizable is Outlook. The Outlook app on both iOS and Android devices uses the same IMAP mail settings as all other email programs, using those to connect to the MRSware Mail Servers and synchronize (both download messages and upload changes) with the servers. This process is what allows many email programs and devices to connect and work with mail interchangeably.
Following are the instructions (with pictures) for setting Outlook on your phone.
Step 1: Install Outlook for your device
Go to your devices app store. Search for "Outlook". Install.
Step 2: Run Outlook
You'll find the Outlook app on your screen's home page or in its application list. Start it up.
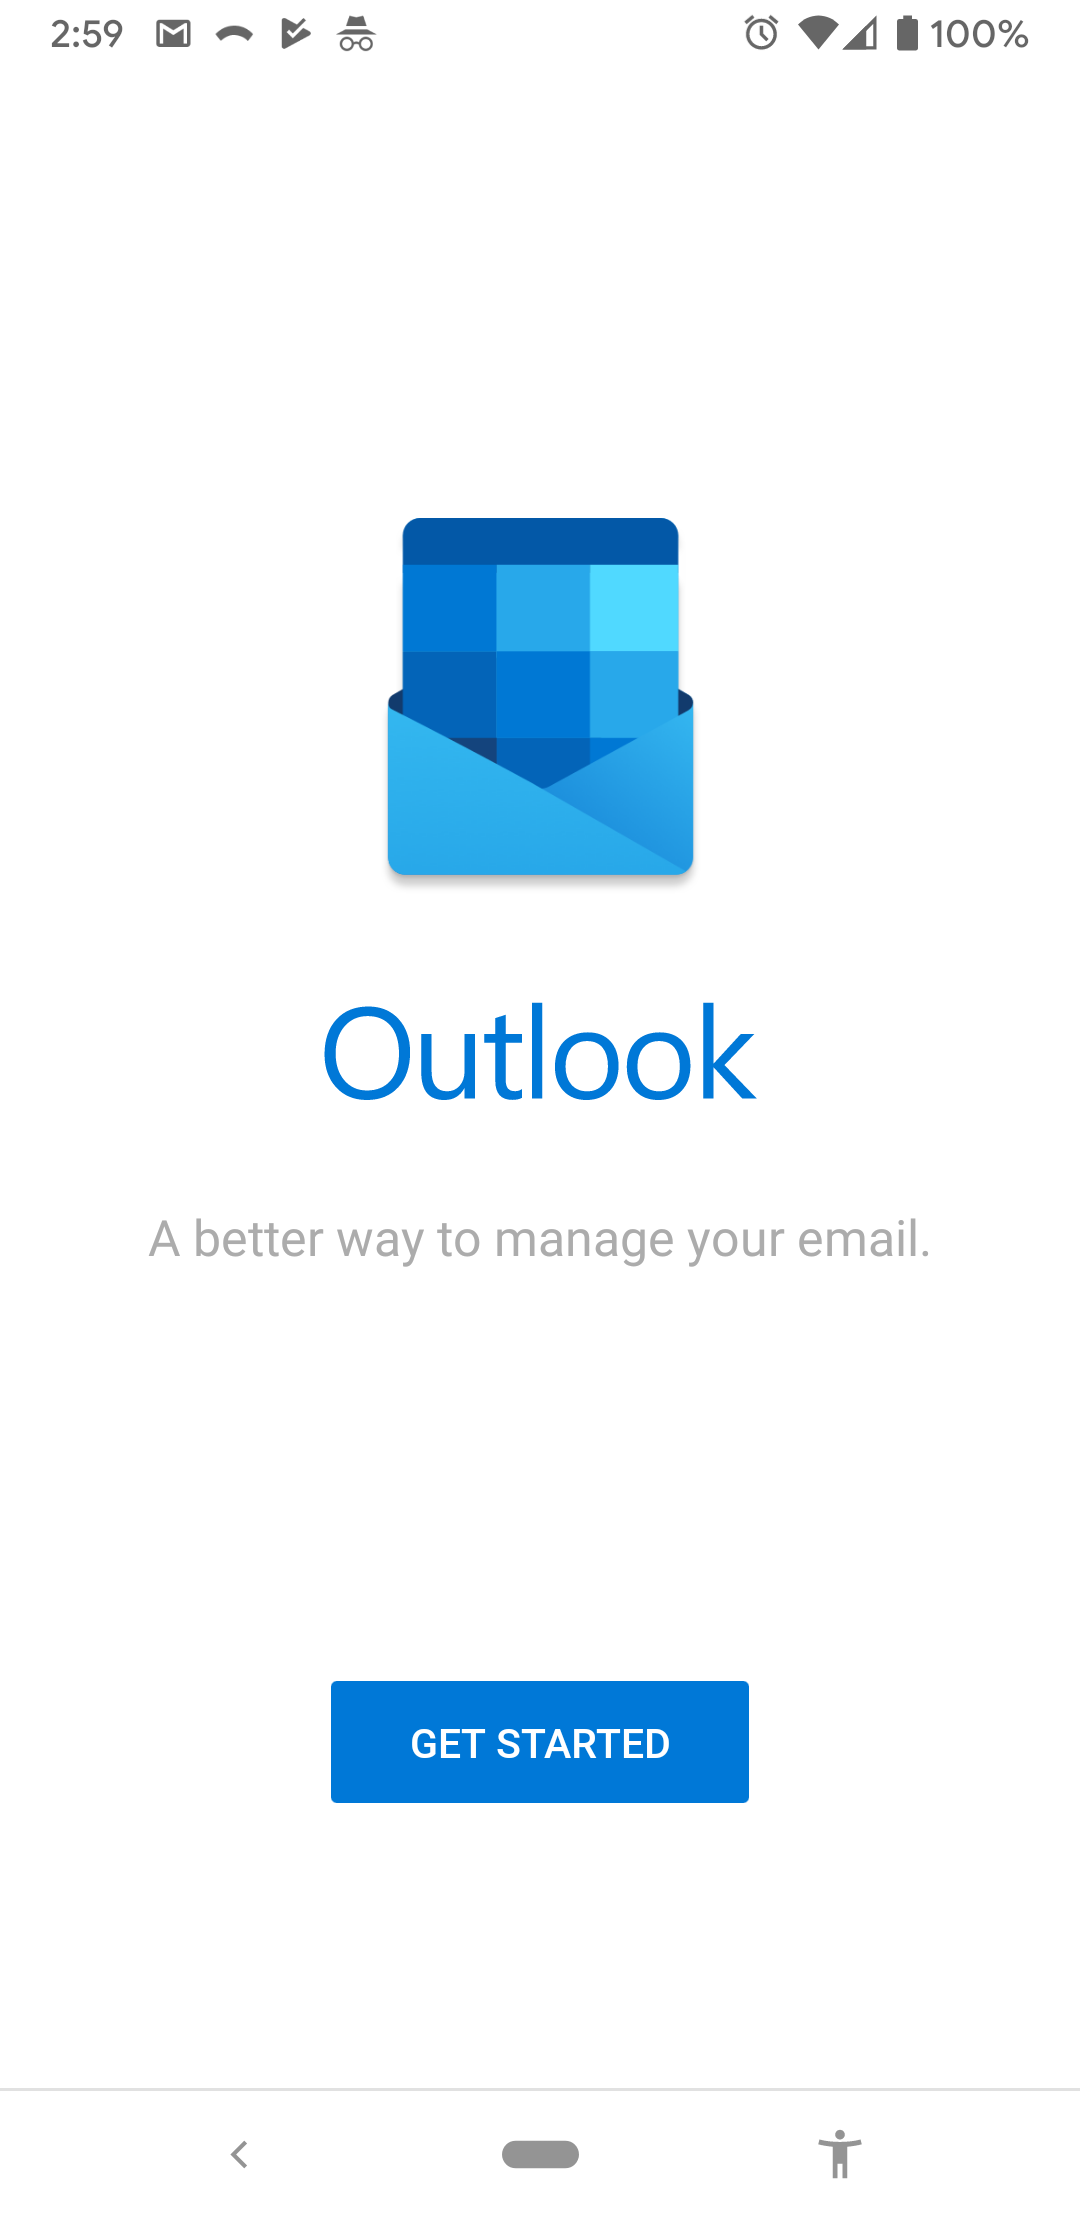
Step 3: Add Account
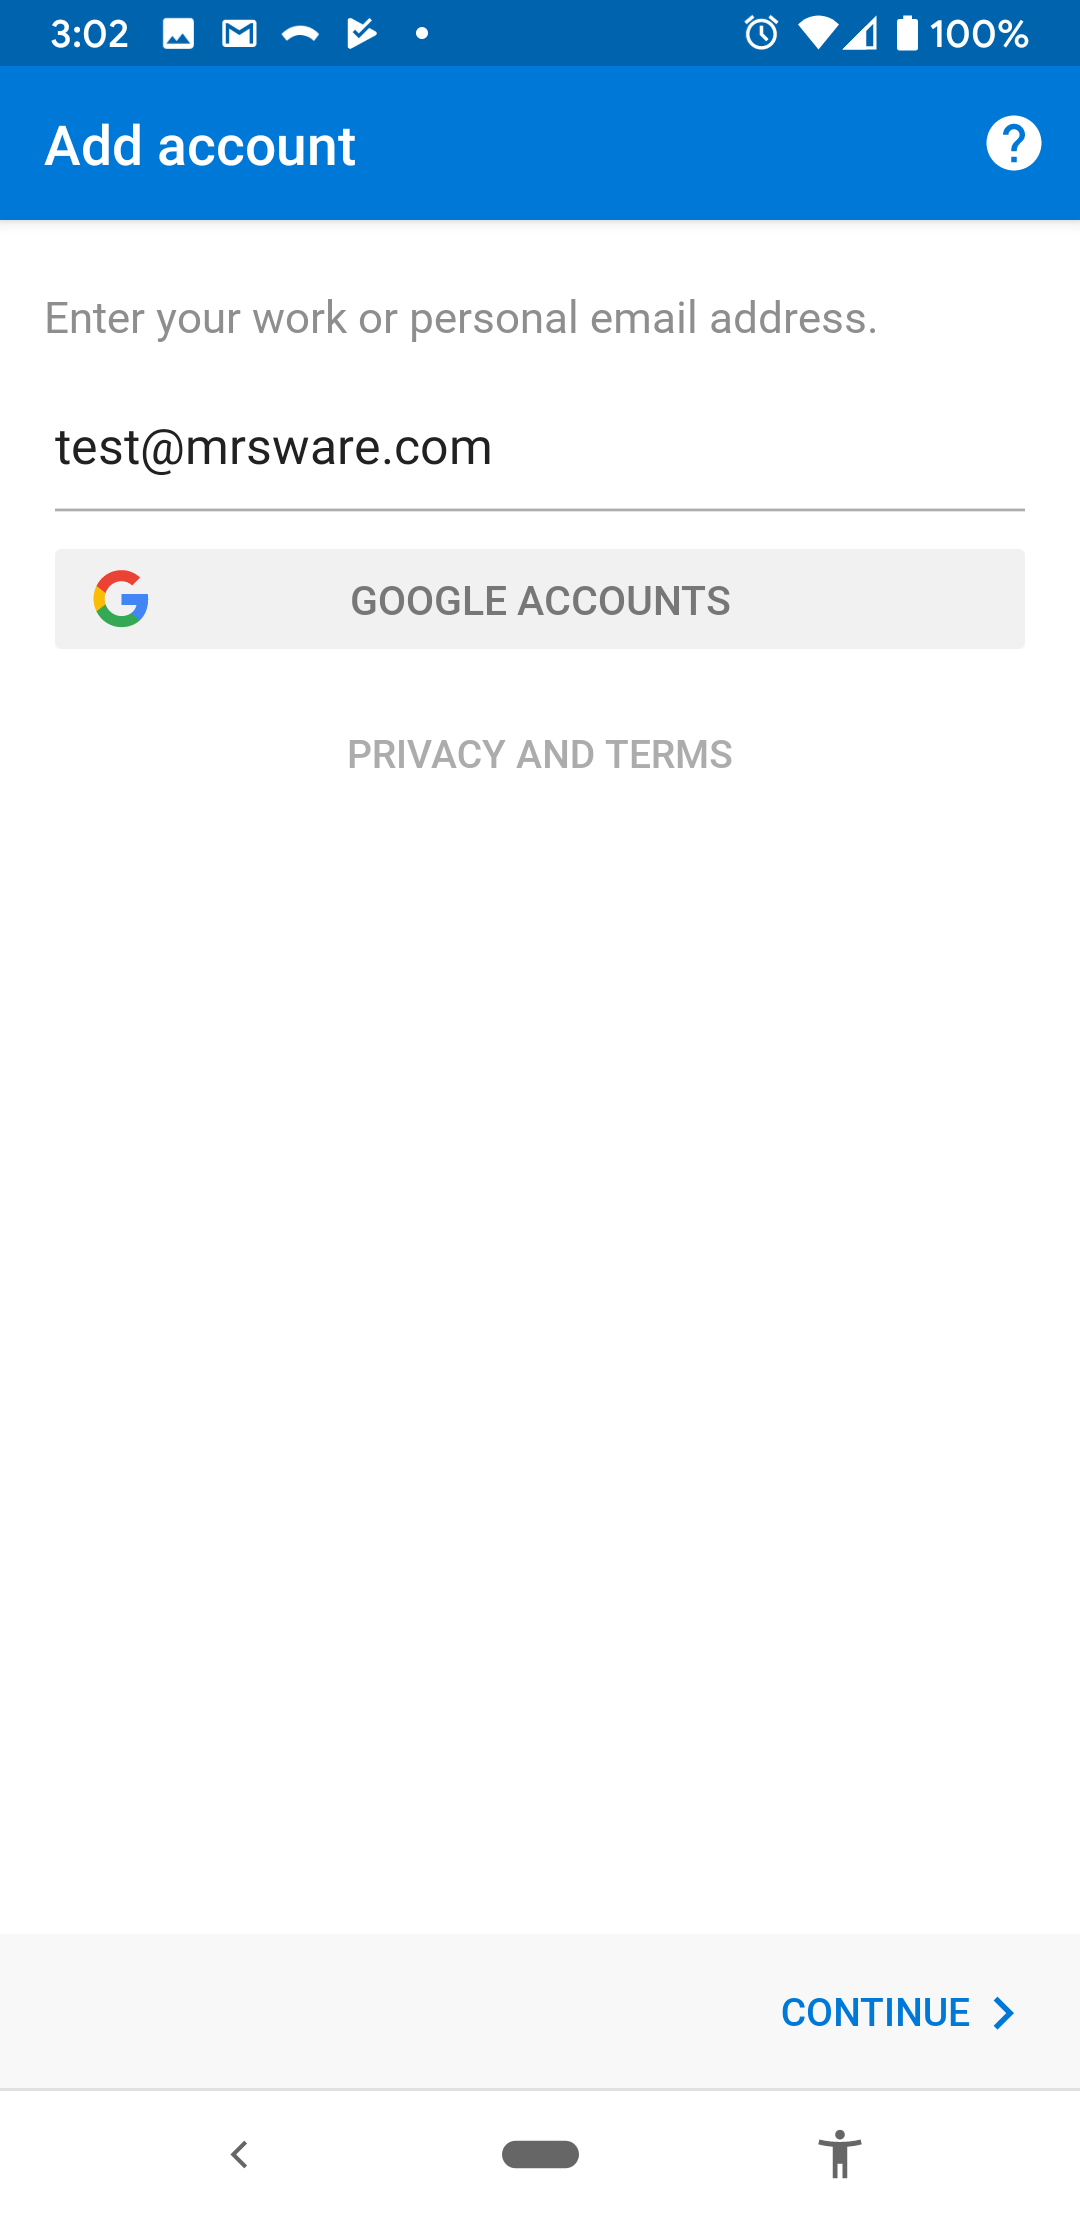
Type in your email address. Press the "CONTINUE >" button.
Outlook will test for a second and then a "SETUP ACCOUNT MANUALLY" link will appear. Click this or wait for a couple seconds to be brought to the next page.
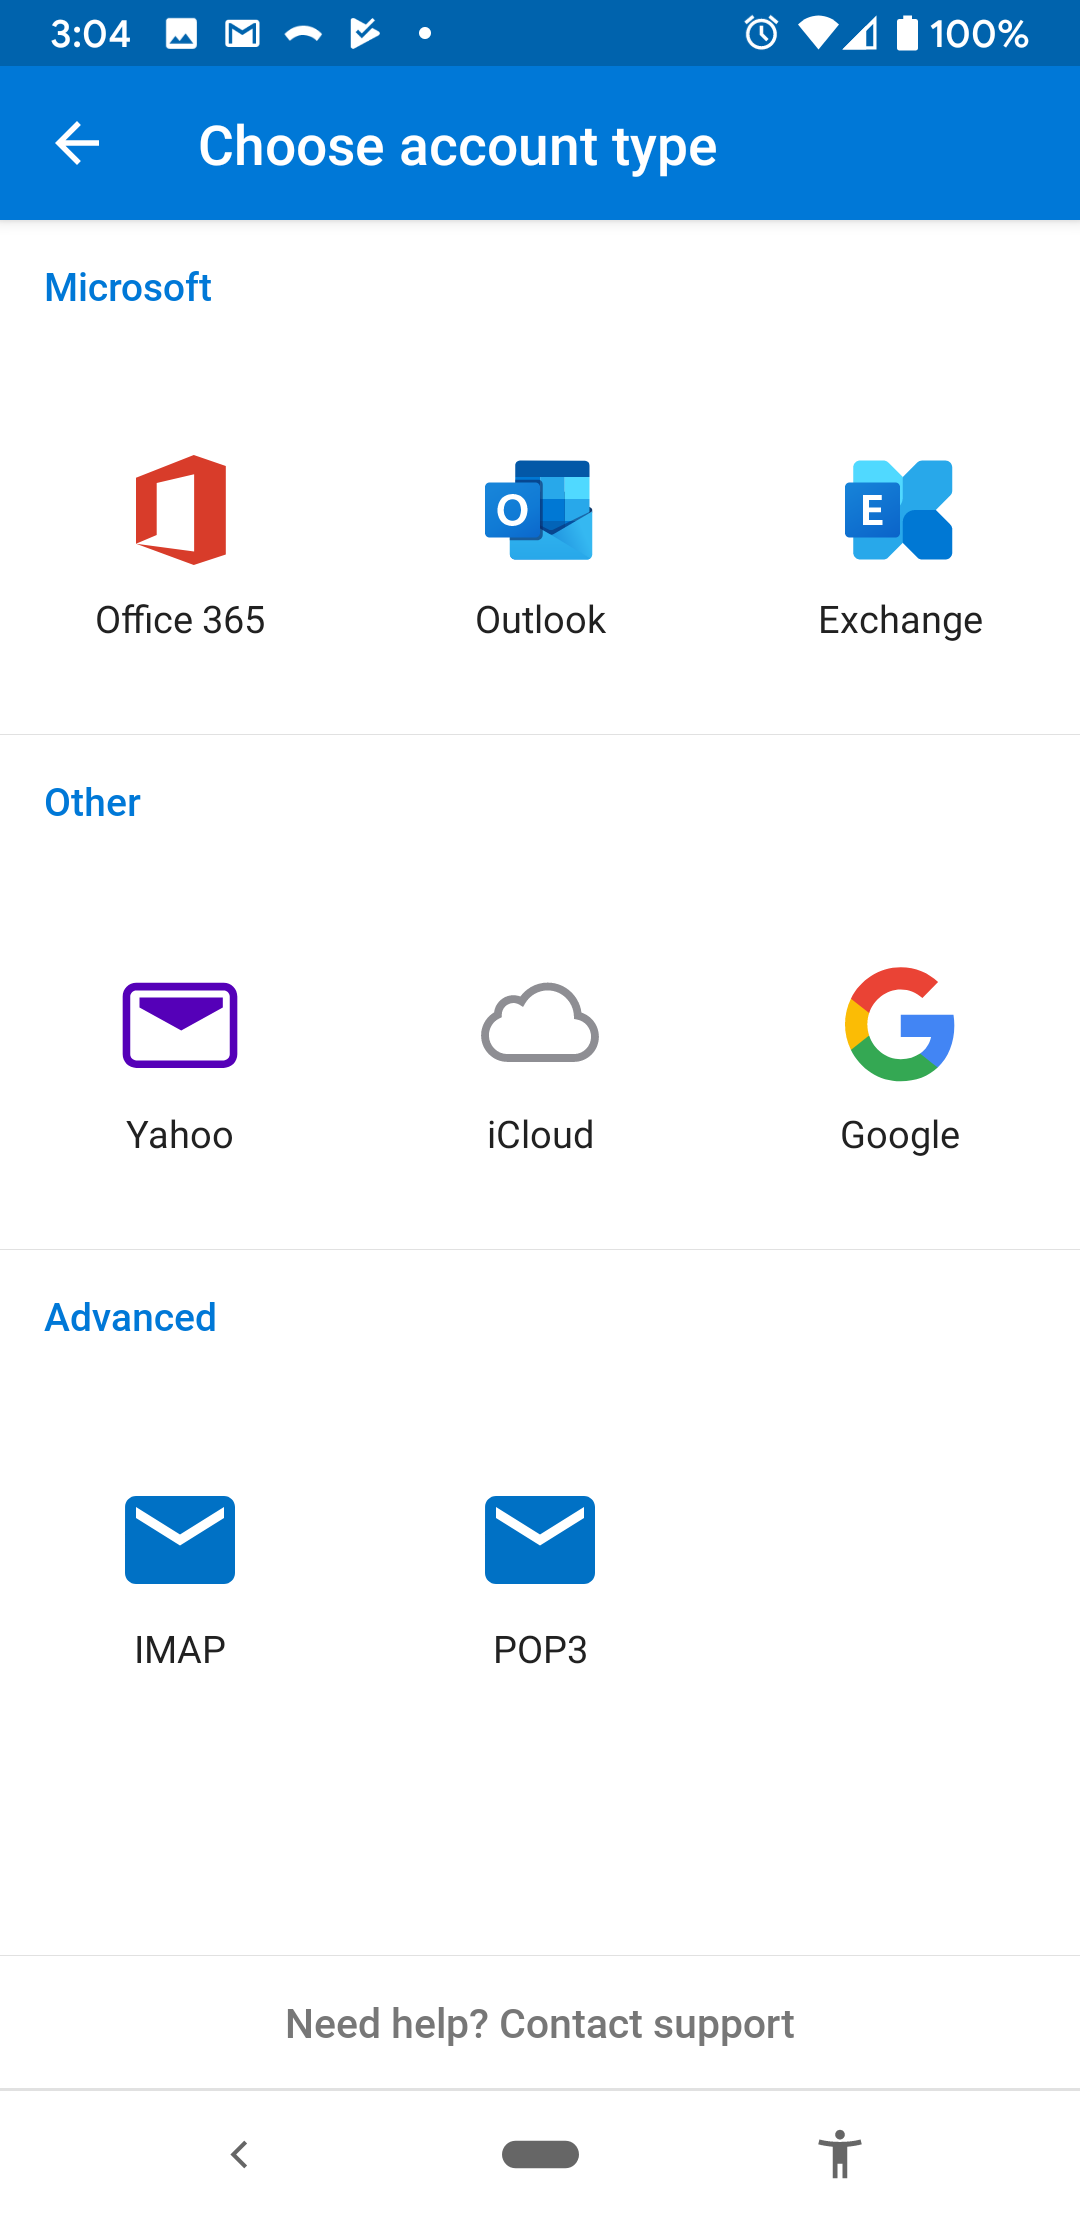
Step 4: Select IMAP
IMAP is the magic-sauce, an industry-standard specification that allows mail servers and clients to interoperate with each other.
Step 5: Enter the MRSware Mail Server Settings
a) Password
Enter your Mailbox Password. Note that you can set your password to anything you like, and you can set it differently than your MRSware Desktop password, so the password you login to your Mailbox with here may not be the same as the one you use to login to MRSware on your computer...
b) Display Name
Enter how your own name should be displayed when you send emails.
c) Description
Enter something that you can identify this account with. This is particularly important if you have multiple email addresses and use more than one of them in this app. Enter something descriptive, like "Bob's test@mrsware.com".
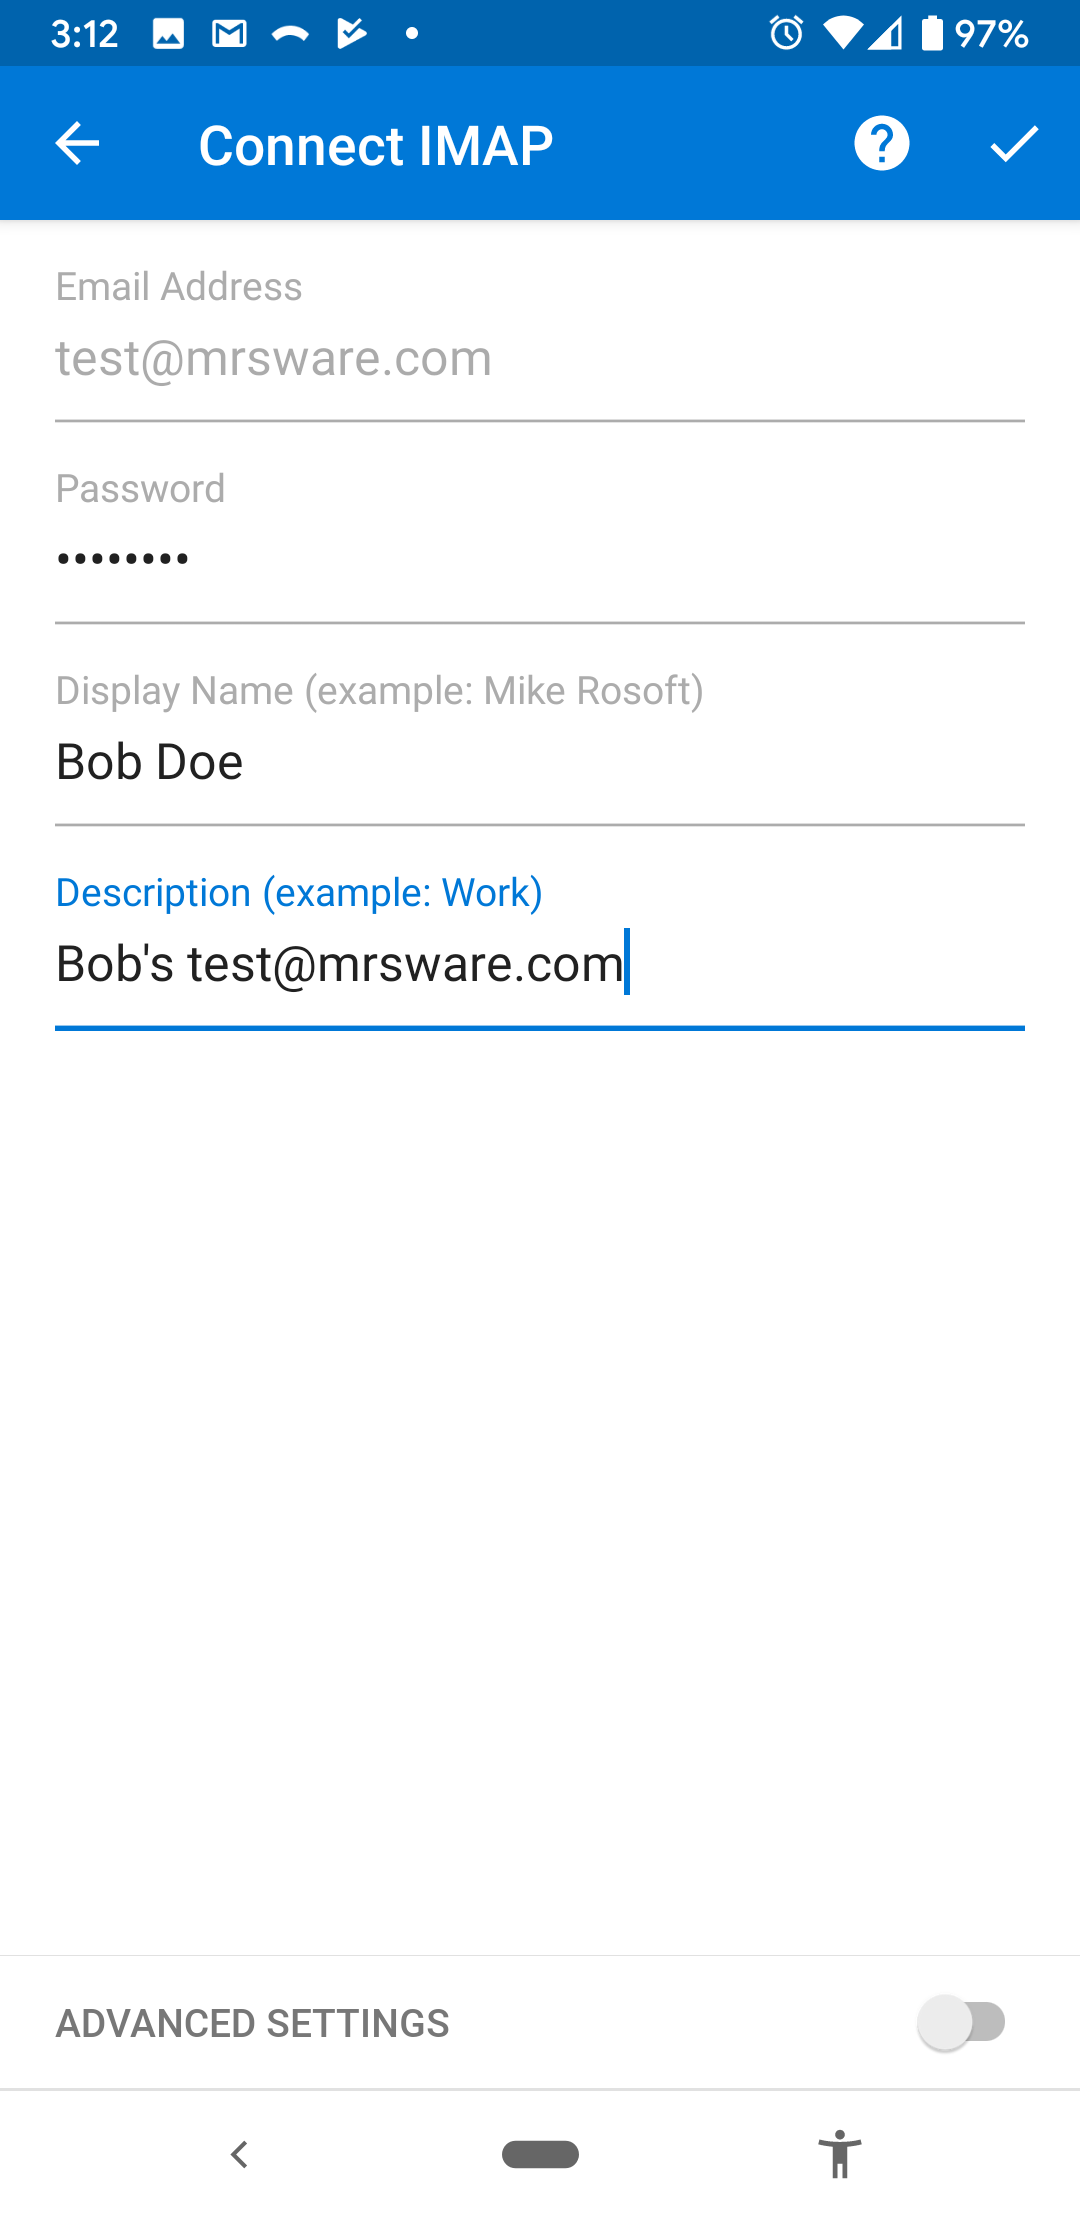
d) Advanced Settings
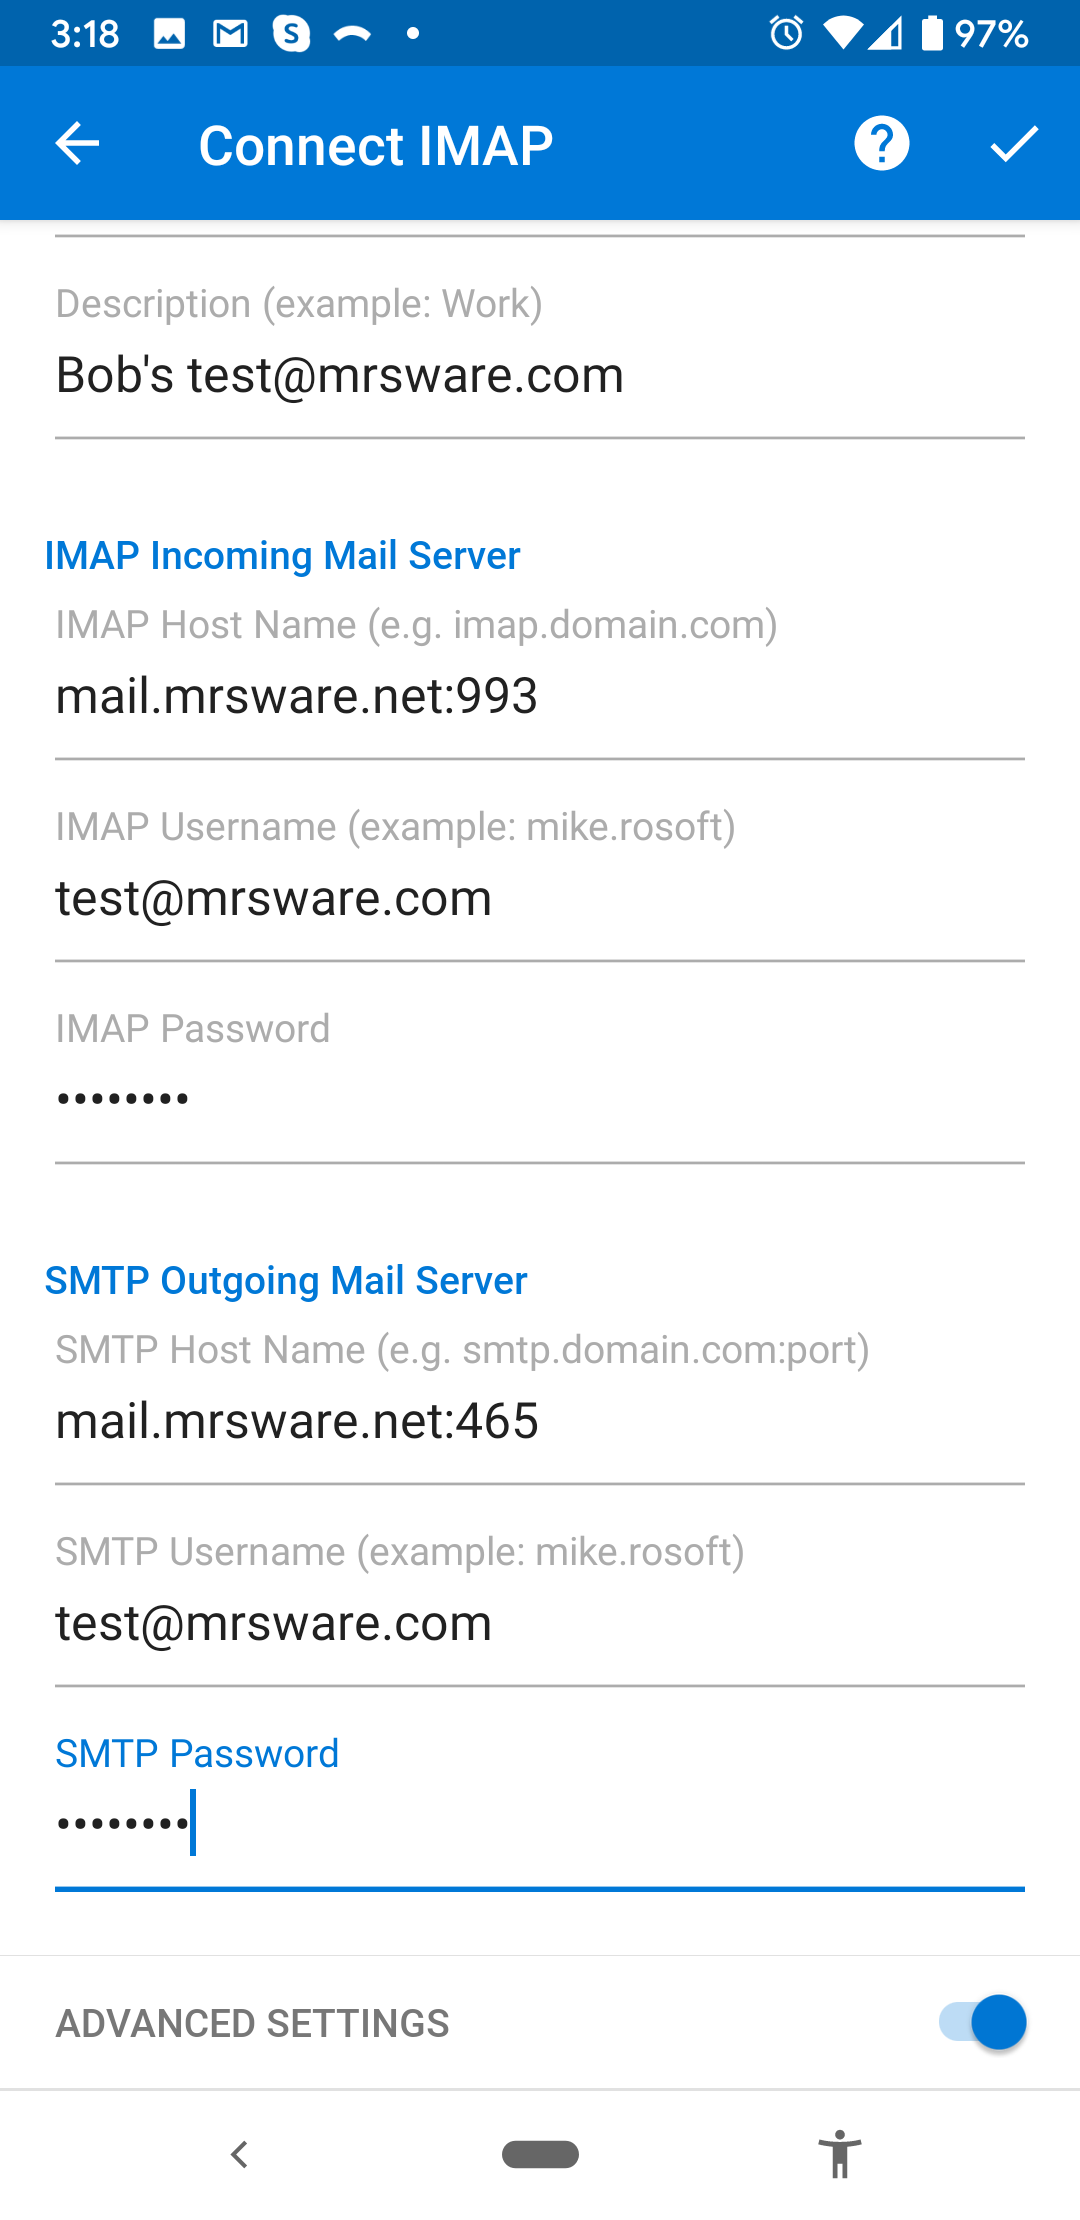
Click the slider to enable the Advanced Settings section. Make sure to slide the page down to see all of the settings.
e) IMAP Incoming Mail Server
IMAP Host Name is mail.mrsware.net:993
That 993 at the end is the port number. Outlook likes to have the port number right at the end of the server address, where most other email apps will have a separate space to enter this value.
IMAP Username is <your email address>
Enter your email address here again.
IMAP Password is <your Mailbox password>
Enter your Mailbox password here again.
f) SMTP Outgoing Mail Server
SMTP Host Name is mail.mrsware.net:465
That 465 is the port number. Enter it with a colon at the end of the server address.
SMTP Username is <your email address>
Enter your email address once more.
SMTP Password is <your Mailbox password>
Enter your Mailbox password once more.
When every space is filled in and matches the images shown here with your own information, click the checkmark in the upper right corner.
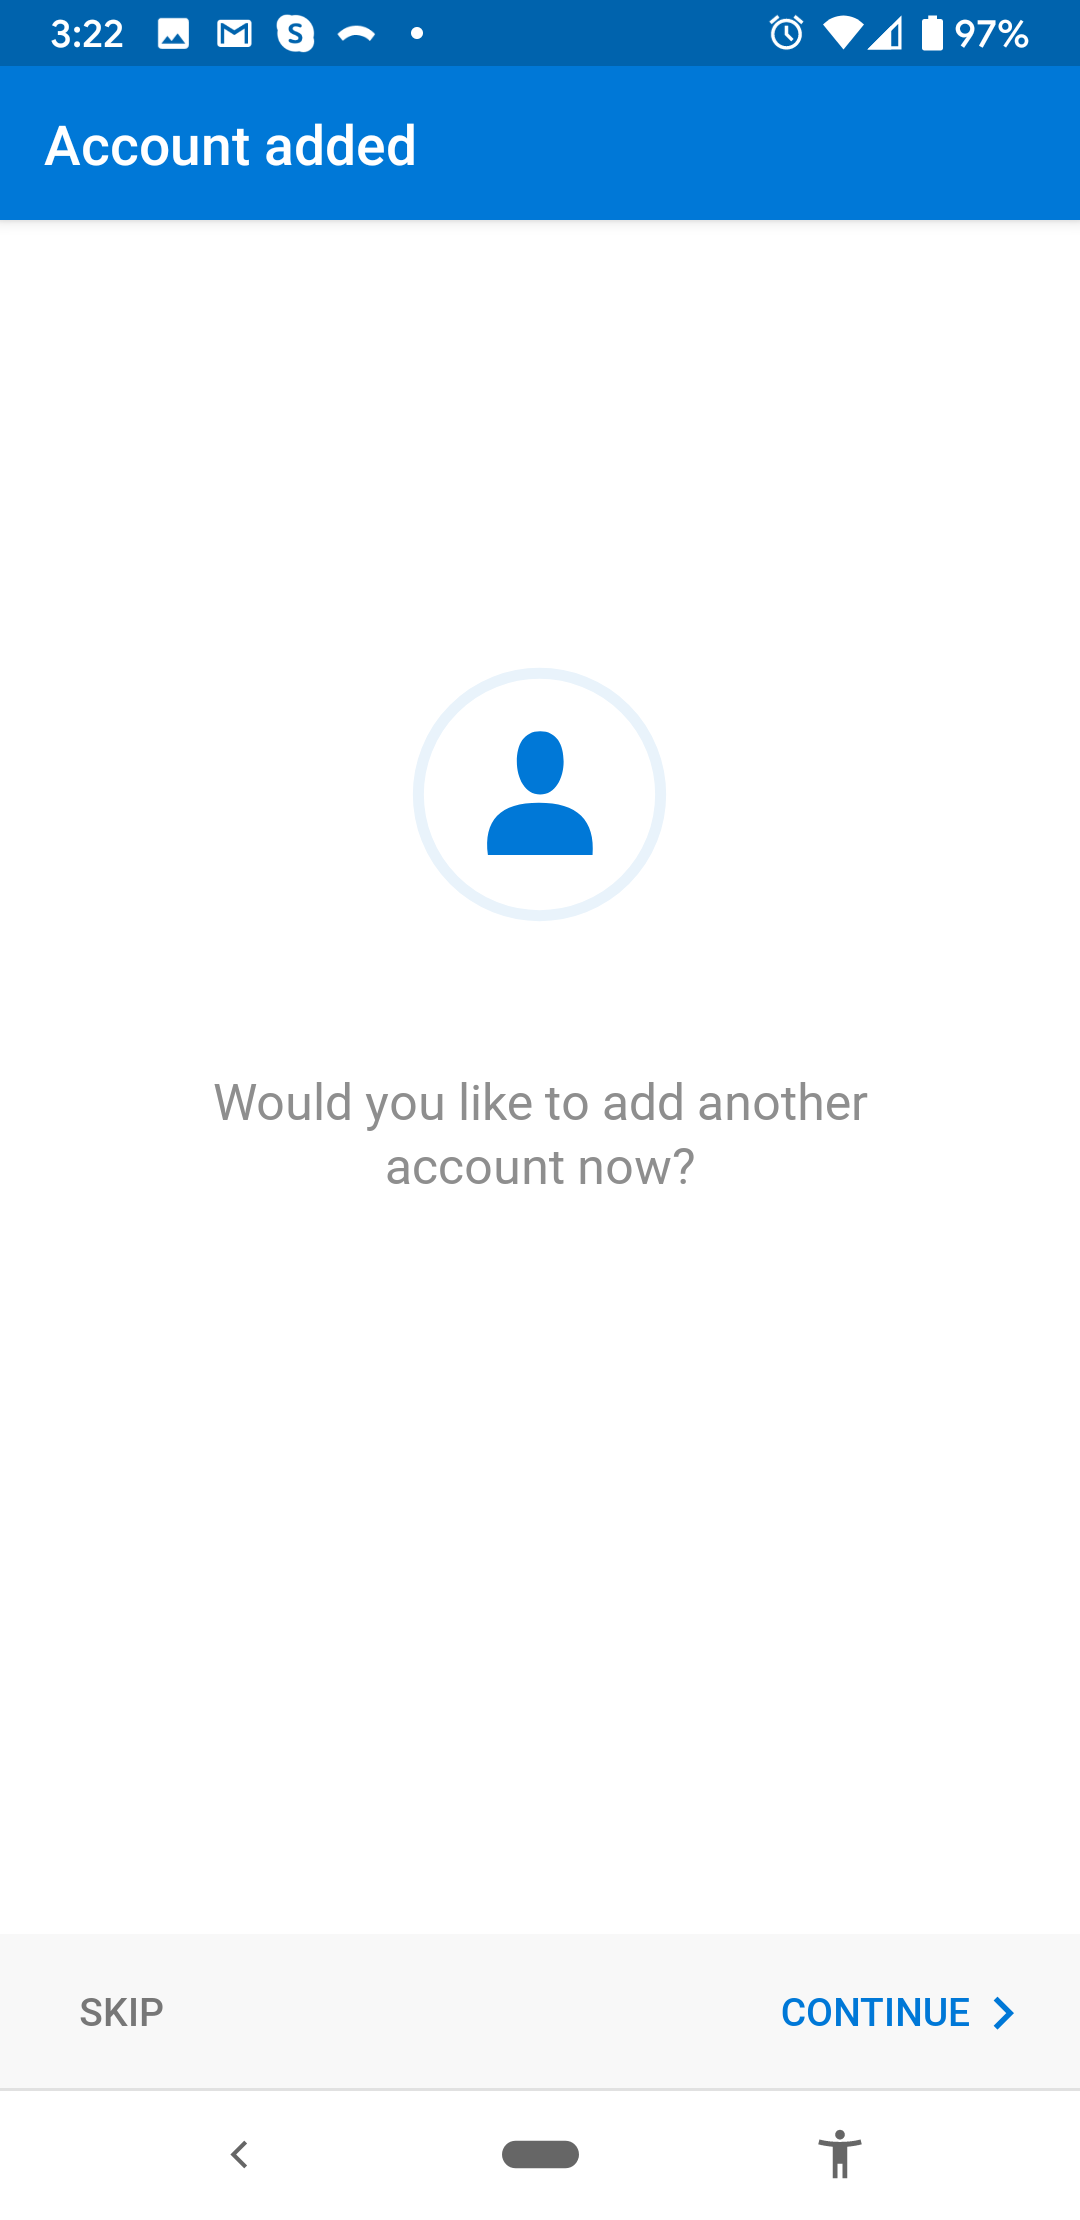
You will see the "Attempting to Connect..." progress bar, and then you will be back at the "Account added" page.
If you are adding another email address, such as a shared MRSware Mailbox that your company uses, go ahead and add that now. Follow the same steps above again to add your other account. Otherwise, press the "SKIP" button to continue.
There are 3 screens with featurettes that the Outlook creators thought you might like to know. After you pass these pages, you are in your Inbox.
From here you can interact with your emails as you do in any other email program, you have access to all your folders that are on the Mail Server, and any changes you make here (mark as read, move to folder, delete, etc.) will sync back to the server so all your other email programs can also see the same changes.