
Lesson 2
Chapter 4 - Settings
Settings provides options on how you want your system to look and work.
(For example, you can select a different color from the default color by clicking or tapping "Theme")
Settings selected will be the same across all devices you use.
i You can access Settings from every page in MRSweb.
| | The Settings icon looks like a gear (screenshot to the left) |
| Desktop view | Desktop view | Mobile view |
| To access the Settings menu: From the Home page, 1. Click or tap the "Hamburger" button on the left of the Menu bar 2. Click or tap "Settings" | To access the Settings menu: From any other page, 1. Click or tap the "Hamburger" button at the top of the Sidebar 2. Click or tap "Settings" | To access the Settings menu: From any page, 1. Click or tap the "Hamburger" button on the left of the Menu bar 2. Scroll down to the bottom of the list, click or tap "Settings" |
| | |
| | | |
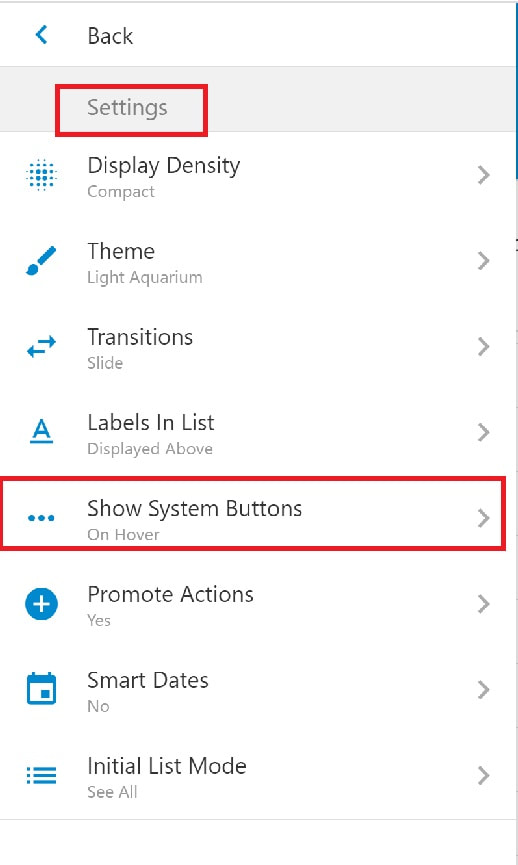
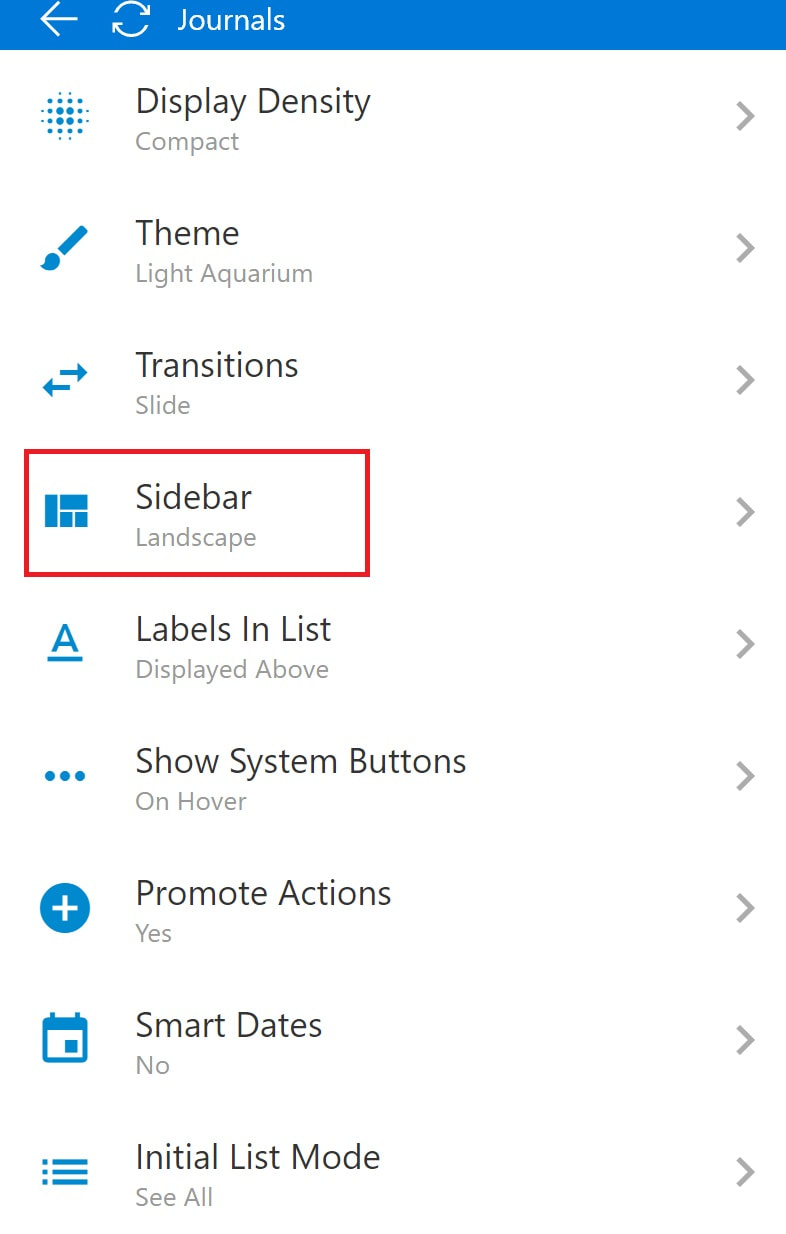
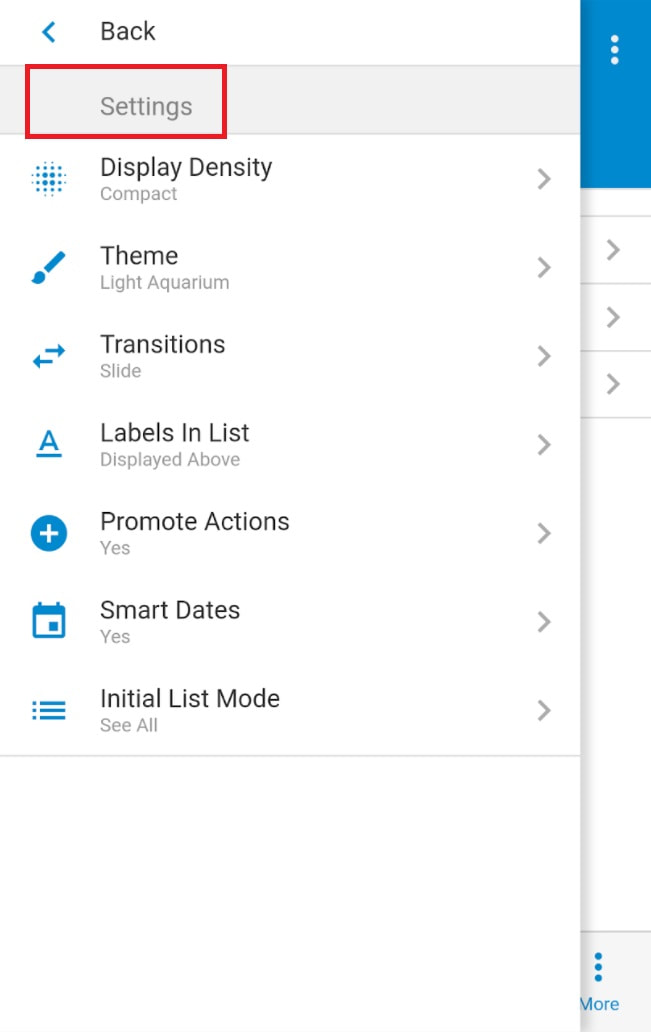
| Home page Settings - desktop The Home page Settings menu includes: Display Density Theme Transitions Labels in Lists Show System Buttons Promote Actions Smart Dates Initial List Mode. | Journals page Settings - desktop On other pages in the desktop view (like the Journals page seen below), the Settings menu includes one additional setting: Sidebar | Home page Settings - mobile Mobile Settings are essentially the same as the desktop Settings with two exceptions.: 1. There is no "Show System Buttons" option 2. There are no sidebars in the mobile view |
 |  |  |
Let's review each option to see how you can customize your view.
Let's review each option to see how you can customize your view.
Display Density -
The Display Density changes the size of your display resolution.
There are 4 options:
- Tiny
- Condensed
- Compact (default)
- Comfortable
Click or tap each one to select your preference.
A check mark will show which option you have chosen.
Seen below, left to right:
Compact - Comfortable - Condensed - Tiny
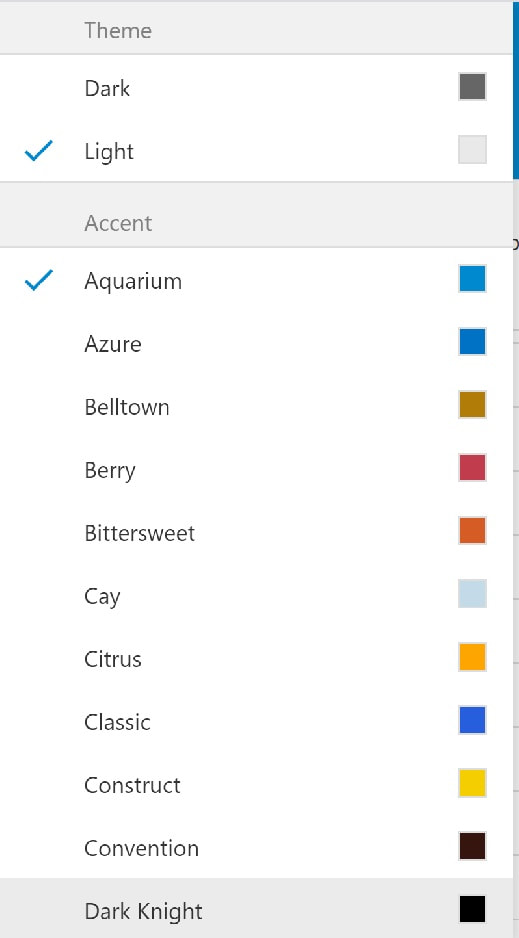 | Theme - The Theme changes the interface colors of MRSweb. The first 2 options select the Menu list background color: - Dark - Light (default) There are many options for the accent color: - Aquarium (selected) - Azure - Belltown - Berry - Bittersweet - Cay And so on... Click or tap each one to select your preference. A check mark will show which option you have chosen. |
| Transitions - Transitions is how the app moves between pages. There are 2 options: - None - Slide (default) Click or tap each one to choose your preference. A check mark will show which option you have chosen. | 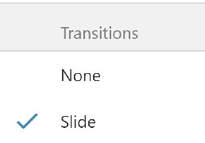 |
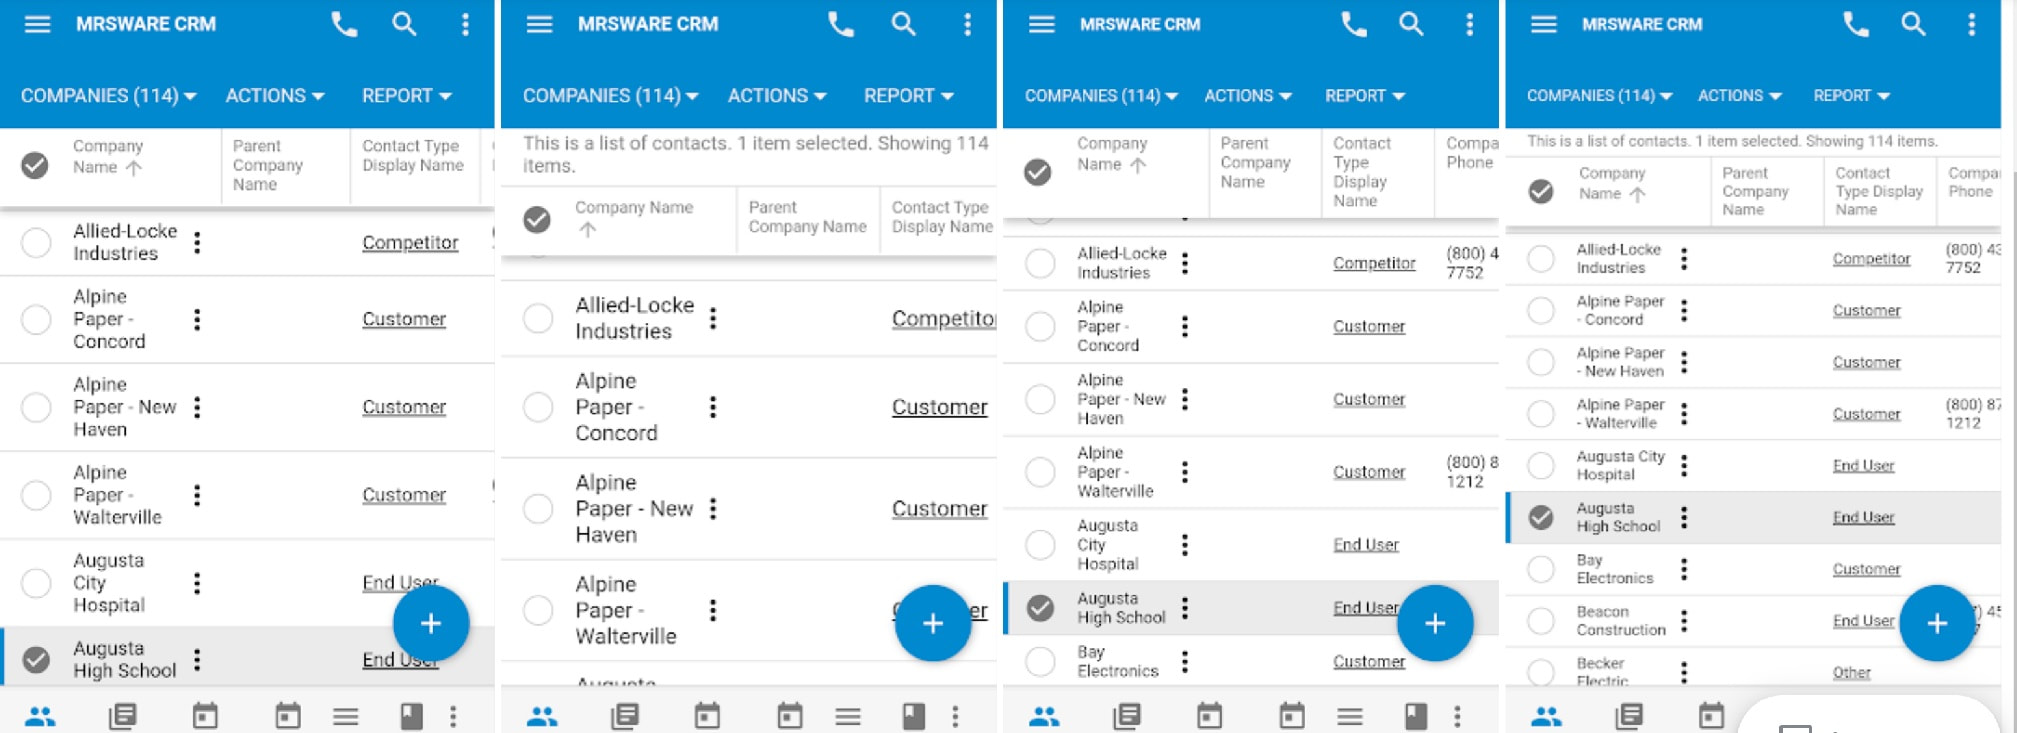
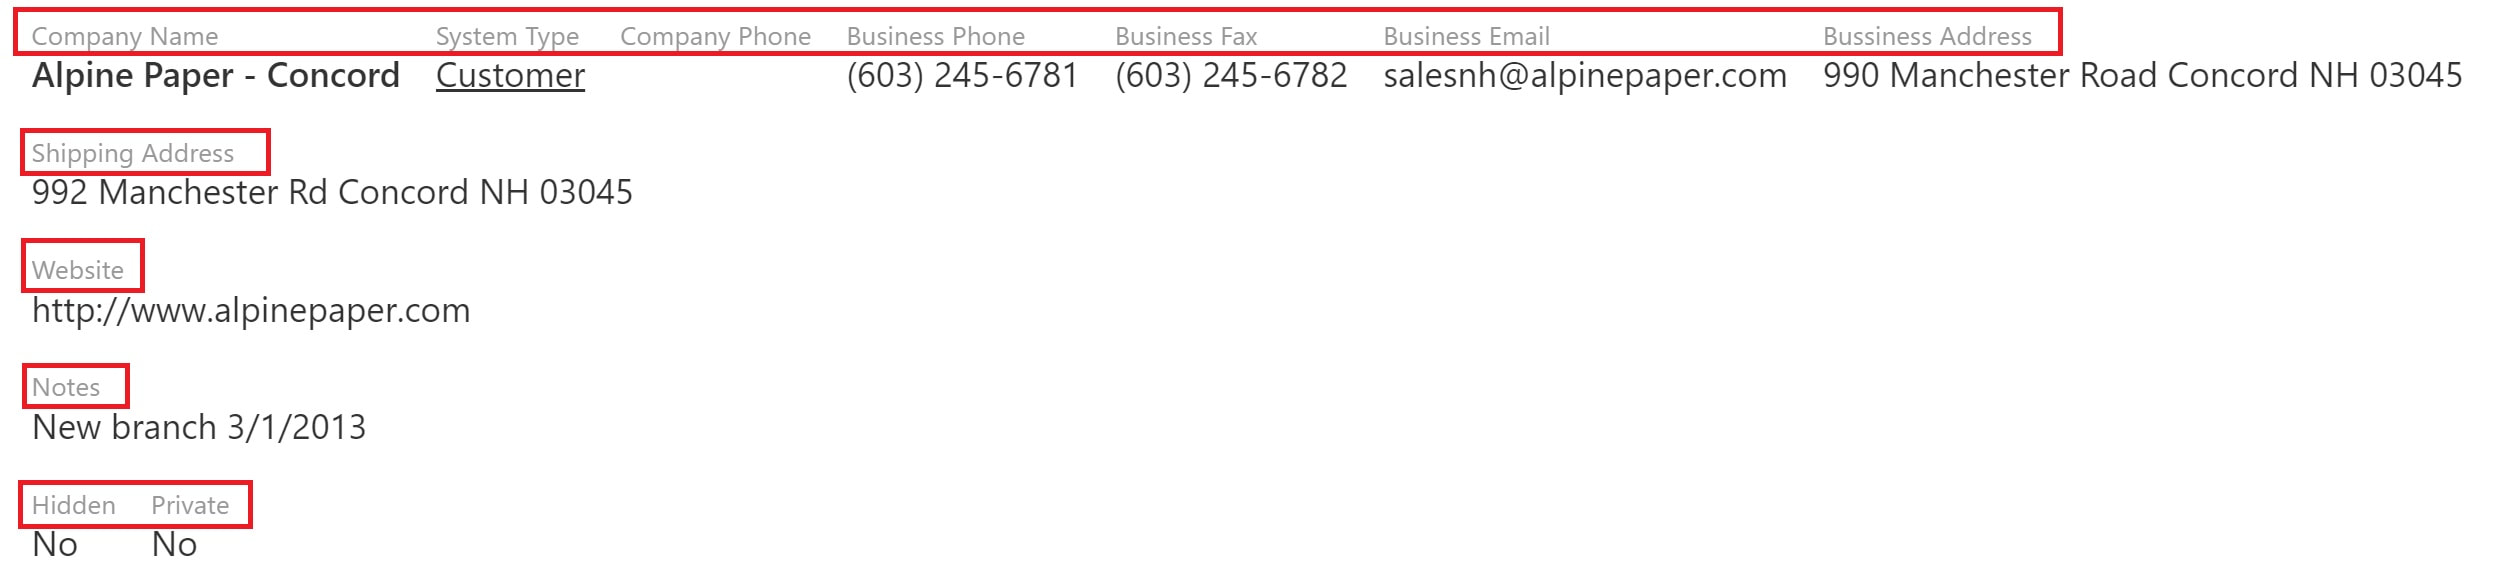
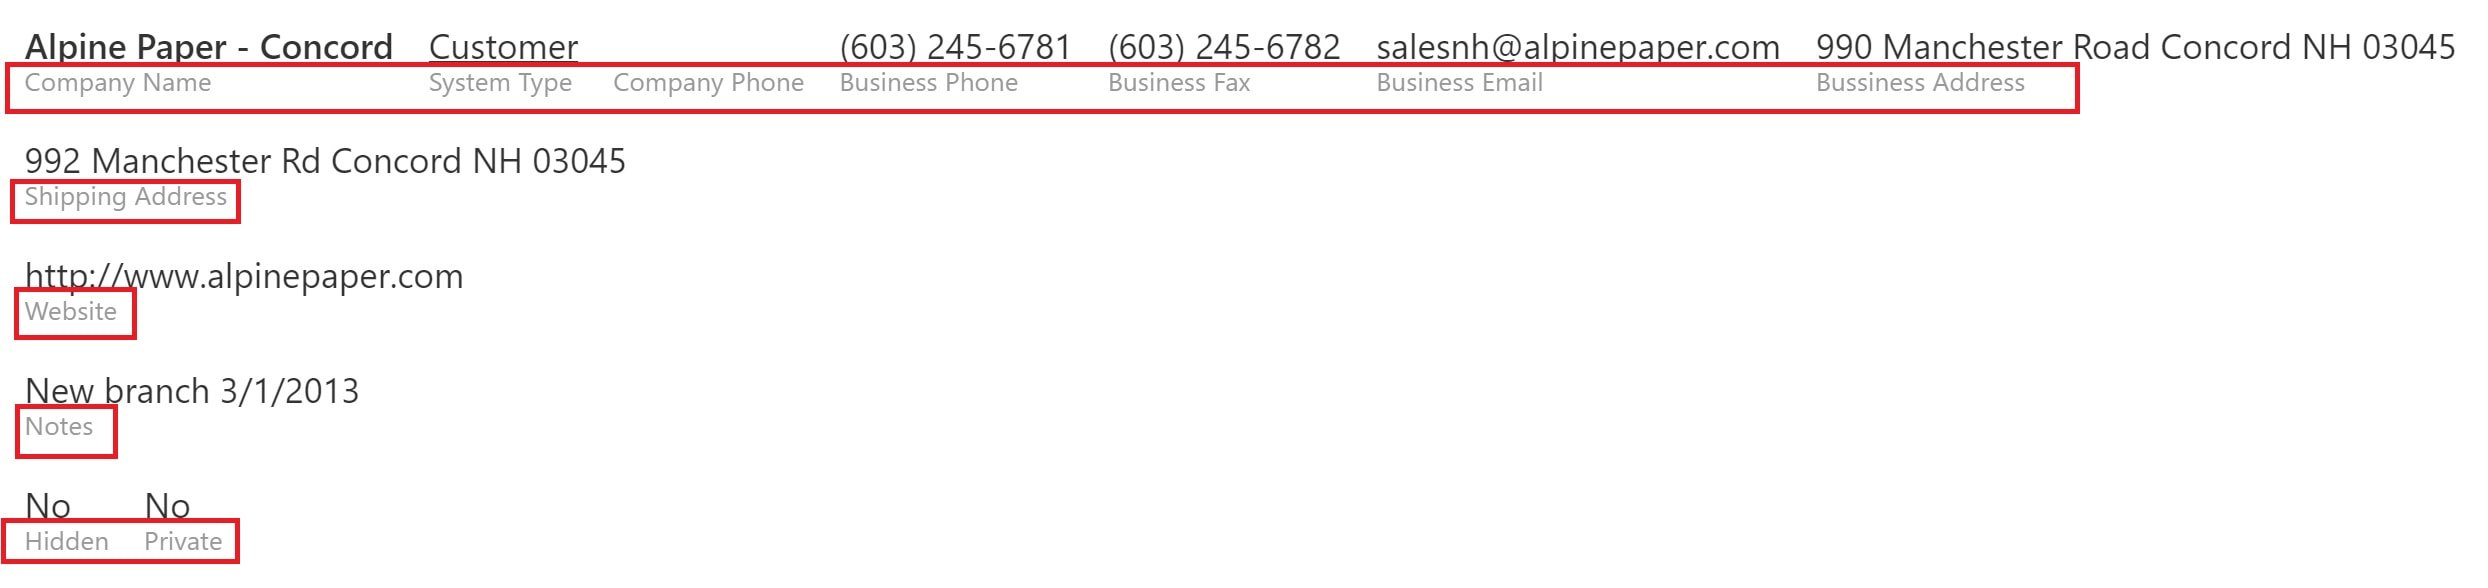
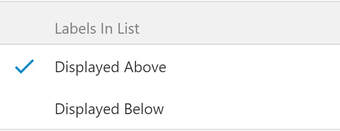 | Labels in List - Labels in List provides the location of the field titles There are 2 options: - Displayed Above - Displayed Below (default) Click or tap each one to choose your preference. When you select a different option, a pop-up asks if you want to Reload? Click or tap "Ok" for yes, or "Cancel" for no. A check mark will show which option you have chosen. Seen below - "Displayed Above" (top screenshot) "Displayed Below" (bottom screenshot) |
| Promote Actions - Promote Actions toggles action options on and off, e.g. the "Plus" sign (add new) Promote Actions tools do not appear on your screen when in Summary mode (see Initial List Mode below). There are 2 options: - Yes (default) - No Click or tap each one to choose your preference. A check mark will show which option you have chosen. | 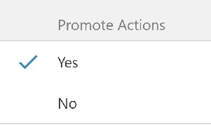 |
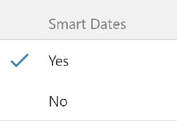 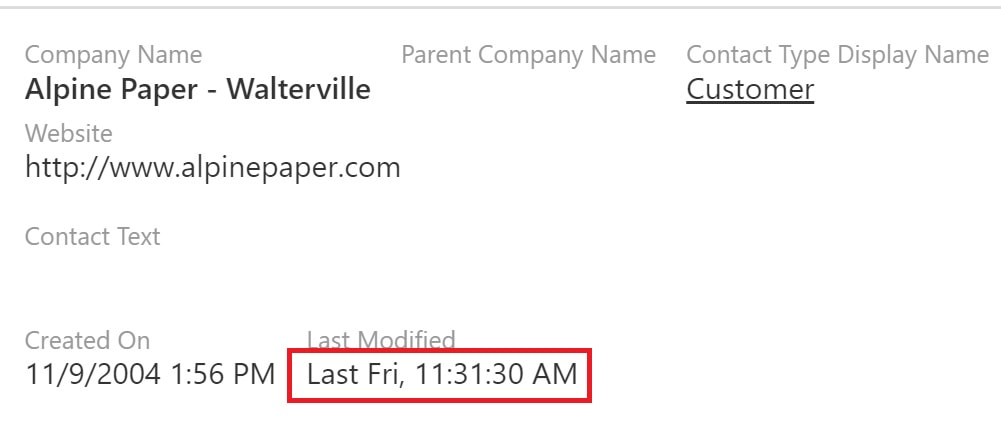 | Smart Dates - Smart Dates makes it easier to read and understand dates without a calendar. There are 2 options: - Yes (default) - No Click or tap each one to choose your preference. A check mark will show which option you have chosen. |
| Initial List Mode - Initial List Mode allows you to select a Summary view on all pages There are 2 options: - See All (default) - Summary When in Summary mode, the Promote Actions tools do not appear on your screen. Click or tap each one to choose your preference. A check mark will show which option you have chosen. "See All" (screenshot below) | 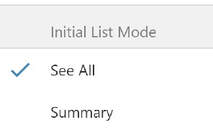 |
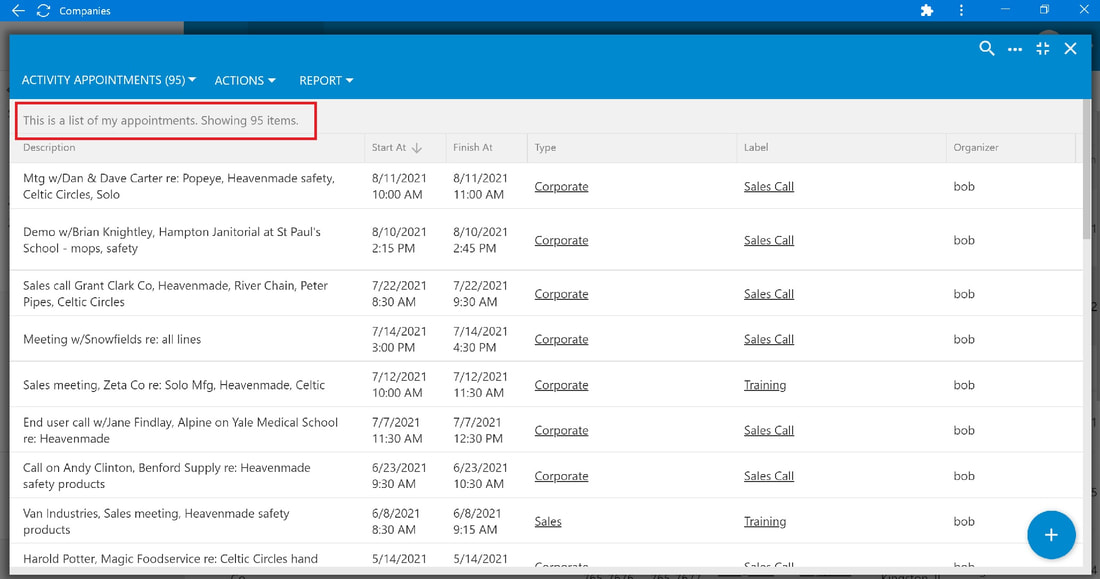
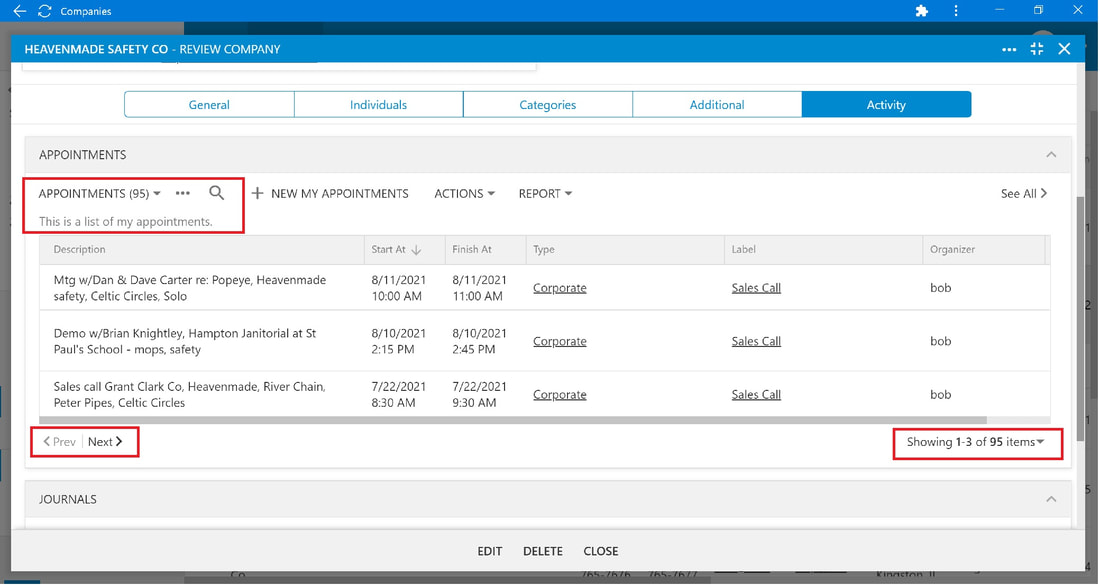
"Summary Mode" (screenshot below)
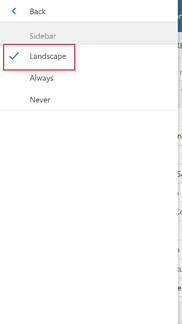 | Sidebar - The Sidebar setting provides a calendar and page view options. The Sidebar setting is not available on the Home page or on mobile devices. It is available in Contacts, Projects, Appointments, Journals, Tasks, and Notes. More on the Sidebar setting in future lessons. |
Go ahead and click or tap all the Settings menus to see how you can customize MRSweb.
 RSS Feed